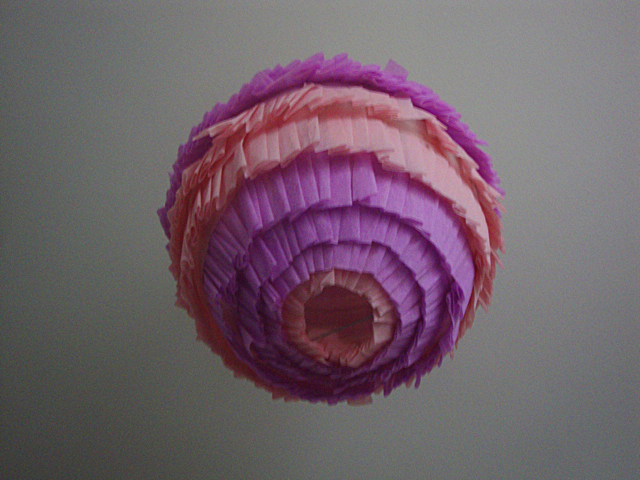
I couldn't leave the crepe paper alone and was 'umming' and 'ahhhing' what to do with it. Seeing as any Jubilee plans were on hold due to the rain, I thought i'd jazz up a paper lampshade to keep me entertained.
It might be a bit of an acquired taste, but these would look cute hanging in the garden too for decoration! (When it's not raining mind!)
If you are going to have this inside, i'd recommend using a energy saving light bulb as these don't heat up as much as normal bulbs do.
To make a Piñata lampshade you'll need:
Crepe paper
Scissors
Masking tape
Paper lampshade
1) Start by cutting your crepe paper into equal size strips. I made mine about 3-4 inches wide but you can make them as thick or as skinny as you like.
2) Cut some sections of masking tape before you start, you'll use lots!
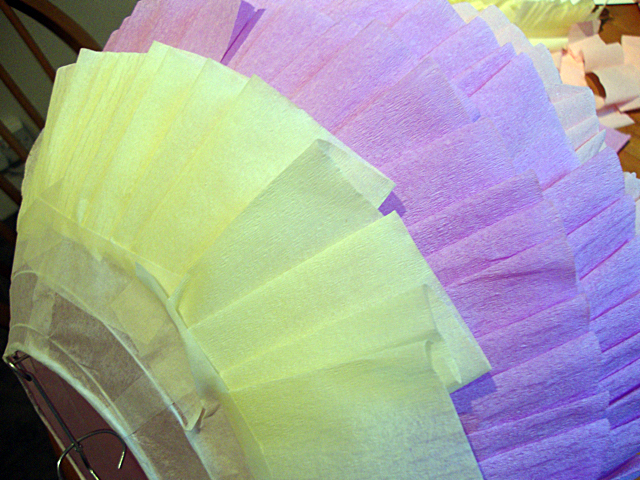
3) Starting at the BOTTOM of the lampshade, create a ruffle with the crepe paper by making looped folds and secure with the masking tape.
4) Continue this all the way around.
5) Do the same with the next section/colour of crepe paper leaving around 1 inch of the previous colour paper showing. You can make this gap wider if you wish and the smaller the gap, the more layers you'll need around your lampshade to completely cover it.
6) Keep going! By this point I was asking myself why I started making this but it'll be worth it!
7) The below photo is a good example of how to create the ruffle fold.
8) Almost done!
9) When you come to do the final layer at the top of your lampshade, stick the masking take inside the opening to secure it down.
10) FINISHED!
11) Hang and enjoy!


0 comments:
Post a Comment