
Here's a quick tutorial to stud up your phone! I have a blackberry so i'm going to make a cover for my Bold but this would also work on an iPhone case too.
I got my phone case from... don't laugh... Gadget Beaver for the grand total of 99p + free P&P!
I also got a bag of 100 pyramid studs for £3 inc. P&P from Crush Crush and I only needed 28 for my phone so I'm going to be using the rest on something else!
So for this tutorial you'll need:
11mm pyramid studs
A hard case for your model of phone
UHU glue or similar ( I highly recommend UHU glue as it gives you time to work!)
Small pair of pliers

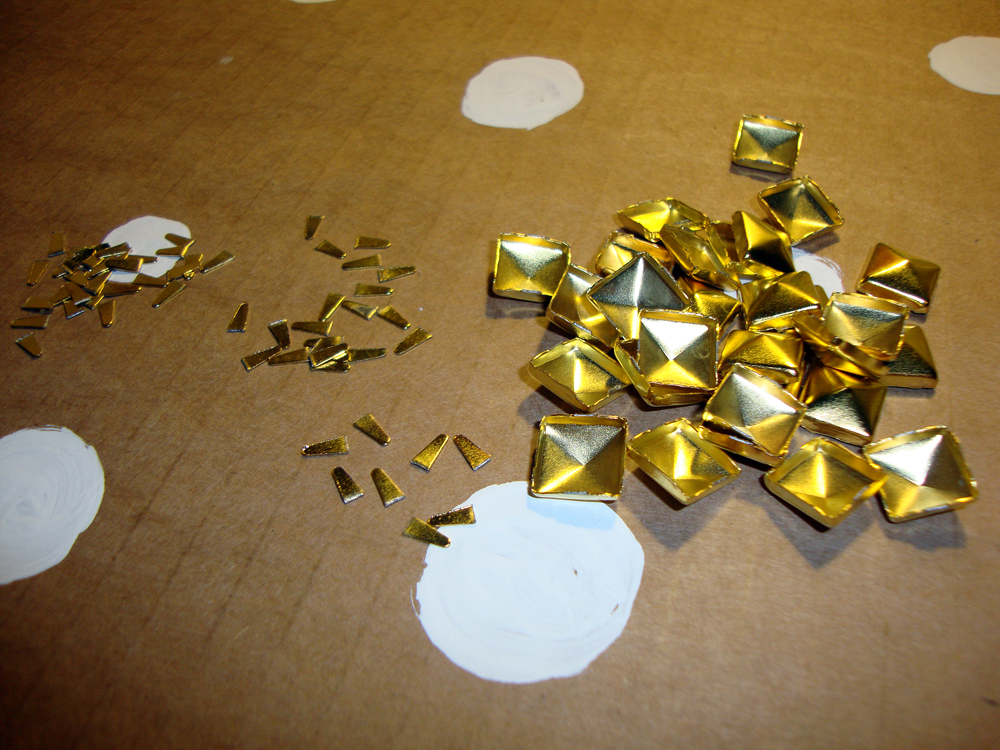
1) Using your pliers, remove the metal tabs (the bits that would puncture through the fabric) from each side of the stud. Just wiggle it back and forth and it'll easily come off.

2) I suggest laying out your studs on your case to see how many you'll need and also this will give you a good idea of how far up and out to take the glue. Once you've done this, apply glue to the back of your phone case. The great thing about UHU glue is that it takes a good few hours to dry properly so you have loads of time to adjust the positions of the studs before they set in place.

3) Start sticking on your studs! If you are following the same design as me, make sure you stick them close together and get them straight.

4) Keep on layering up your studs and adjusting the spacing and straightness as needed.

5) Once you've applied all the studs, leave to dry for a good few hours. I did mine in the evening and left it over night. Once the glue is dried, the studs won't be going anywhere!

6) Stand back and admire your handy work!

Today was a double DIYer for me as not only did I make a phone cover, I also decided to give myself a full fringe! Lucky for me, my hair grows really fast as i'm not sure how I feel about it! I really need to stop hacking into my own hair!!

Enjoy!
Lisa X
0 comments:
Post a Comment